Is your external monitor no longer detected after macOS 13.4 Ventura update? Well, you’re definitely not the only one. macOS 13.4 Ventura comes with a slew of features, but it seems to have brought along some unintended headaches for those who rely on multi-display setups. Follow along as in today’s article I will walk you through the reasons behind this issue and explore the most effective solutions.
Why Is Ventura Not Detecting My Second Monitor?
First off, we recommend checking out our guide on how to connect multiple displays to a MacBook Pro in order to make sure that you are following all the necessary steps. If you have done everything needed in order to connect your external monitor but the monitor is still not detected, then the following issues might be happening:
- Display Settings Mismatch: Sometimes, the display settings between the Mac and the external monitor might not match, causing the Mac to not detect the monitor properly.
- Cable or Port Issues: A common cause could be a faulty cable or a problematic port. Ensure that the cables you are using are in good condition and that the ports on both your Mac and monitor are functioning properly.
- Driver Incompatibility: There could be an incompatibility issue with the drivers, especially after an update. The new drivers might not support the external monitor, or there might be a conflict between them.
- Firmware Issues: The monitor’s firmware may not be compatible with macOS 13.4 Ventura. Checking the manufacturer’s website for firmware updates could solve this problem.
- Software Conflicts: Sometimes, third-party software, especially display or graphics-related software, could cause conflicts that prevent the detection of an external monitor.
- Energy Saver Settings: macOS might be preventing the detection to save energy. Checking the Energy Saver preferences and adjusting them could potentially resolve the issue.
There can be several other reasons why macOS 13.4 Ventura is not detecting your second monitor, but without further ado, let’s see how you can fix the macOS Ventura external display issues.
How To Fix External Monitor Not Working on macOS Ventura?
Here are some tried and tested methods to resolve this issue:
1. Configure Display Spaces
Time needed: 1 minute.
One quick fix involves configuring the Mission Control settings:
- Go to System Settings > Desktop & Dock.

- Under Mission Control, ensure that Displays have separate Spaces is checked.

- Reboot your Mac in order to apply the changes made.
2. Power Cycling the Monitor
Sometimes the monitor might be in a state it can’t recover from due to the update. Unplugging the monitor for a few minutes and then plugging it back in can help. Note that simply using the power button to turn off and on may not be effective as it doesn’t fully reset the monitor.
3. Tinker with Resolution Settings
Another workaround is to play with the display resolution:
- Disconnect the external monitor then go to System Settings > Displays.

- Select any other resolution for your display and then revert to your preferred resolution.
- Reconnect your external monitor in order to see if it will now be detected by your Mac.
4. Delete Preference Files
Corrupted preference files could also be the culprit. Deleting them might solve the issue:
- Open Finder then click Go > Go to Folder.

- Navigate to /Library/Preferences/ByHost/.

- Delete the file named com.apple.windowserver.display.{XXXX}.plist then restart your Mac.
5. Boot in Safe Mode
Another effective solution is to boot into Safe Mode. This will load only essential components, preventing third-party apps from interfering with the external monitor.
For Intel-based Macs:
- Turn off your Mac and press the power button, then immediately hold down the Shift key until the login window appears.
- Log in to your Mac (you may need to log in twice).
For Apple Silicon Macs:
- Shut down your Mac.
- Press and hold the power button until you see Loading startup options.
- Select your startup volume.
- Hold the Shift key and click Continue in Safe Mode.
Test if the external monitor is detected in Safe Mode. If it is, restart your Mac and check if the issue persists.
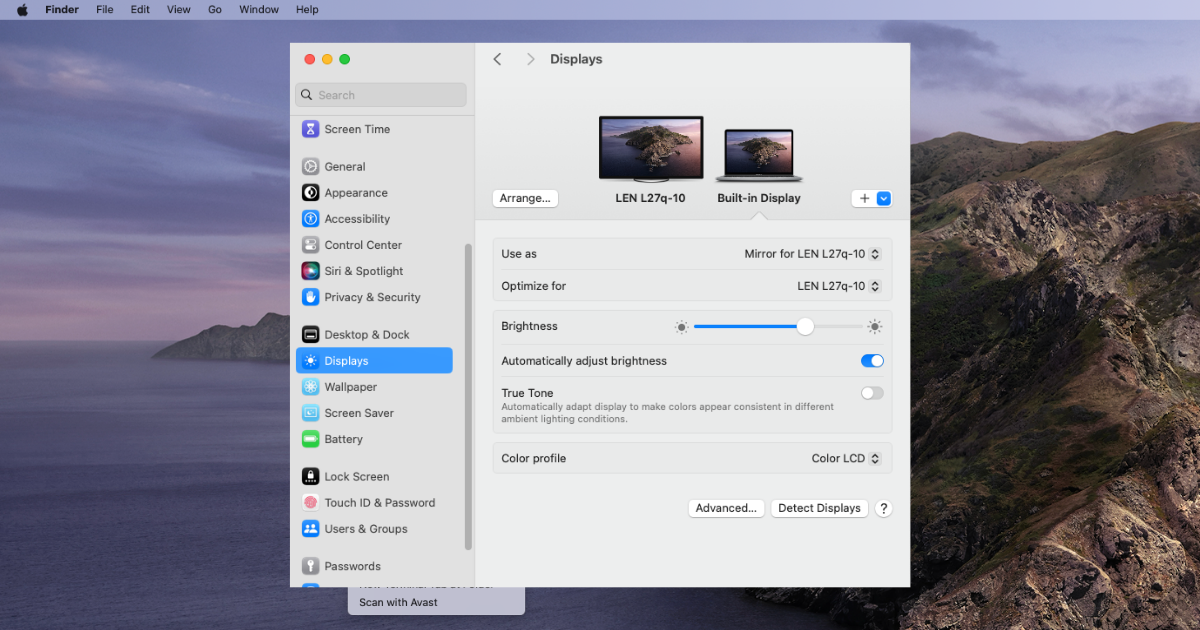
How Do I Force Detect Displays on Mac Ventura?
- In System Settings go to Displays.
- Then press and hold the Option key. This will change the Night Shift button to Detect Displays. Click on Detect Displays to force detect external displays.

- However, if Detect Displays is not working on your Mac with macOS Ventura, try our solutions above to fix it.
macOS 13.4 Ventura is not without its quirks, but with these solutions, you should be back to dual-display productivity in no time. Share this post to help more people fix the external monitor no longer detected after macOS 13.4 Ventura update issue. For further reading, take a look at our full comparison between the 15-inch M2 MacBook Air and the 13-inch M2 MacBook Air.
This could be due to a conflict between new software and your current settings or preferences. The solutions provided in this article should help you address this issue.
Check out our dedicated article on how to use your iPad as a second monitor to find out all the necessary steps.
The issue of your Mac not detecting HDMI could be due to various reasons such as a faulty HDMI cable, incorrect display settings, or hardware/software incompatibility. It’s recommended to try using a different HDMI cable, checking your Mac’s display settings, and ensuring that your operating system and applications are up-to-date.