The built-in camera on MacBooks, otherwise known as the FaceTime HD camera, is no doubt one of the most used MacBook features. However, there might be some times when your MacBook Pro’s camera suddenly stops working. If you’re experiencing problems with your MacBook’s camera right now, this guide is for you. But if it is working just fine, this guide will prepare you for what to do if you encounter issues with your MacBook Pro camera not working later on.
Common Issues When Using the MacBook Pro Camera
When it comes to errors or issues with the MacBook Pro camera, most often than not these have something to do with video quality such as blurry images, choppy frame rates, and the appearance of on-screen artifacts during video or FaceTime calls. Even worse, some MacBook owners experience seeing their screen turn black while trying to use the camera.
Those who experience the issues mentioned above might wonder if they need to somehow activate the built-in camera. In fact, you don’t have to wonder about that. The MacBook Pro’s built-in camera activates by itself when you use the FaceTime app or another app requiring the camera.
For folks who encounter issues with their MacBook camera not working, don’t worry. This problem can be easily fixed by doing several troubleshooting methods outlined below.
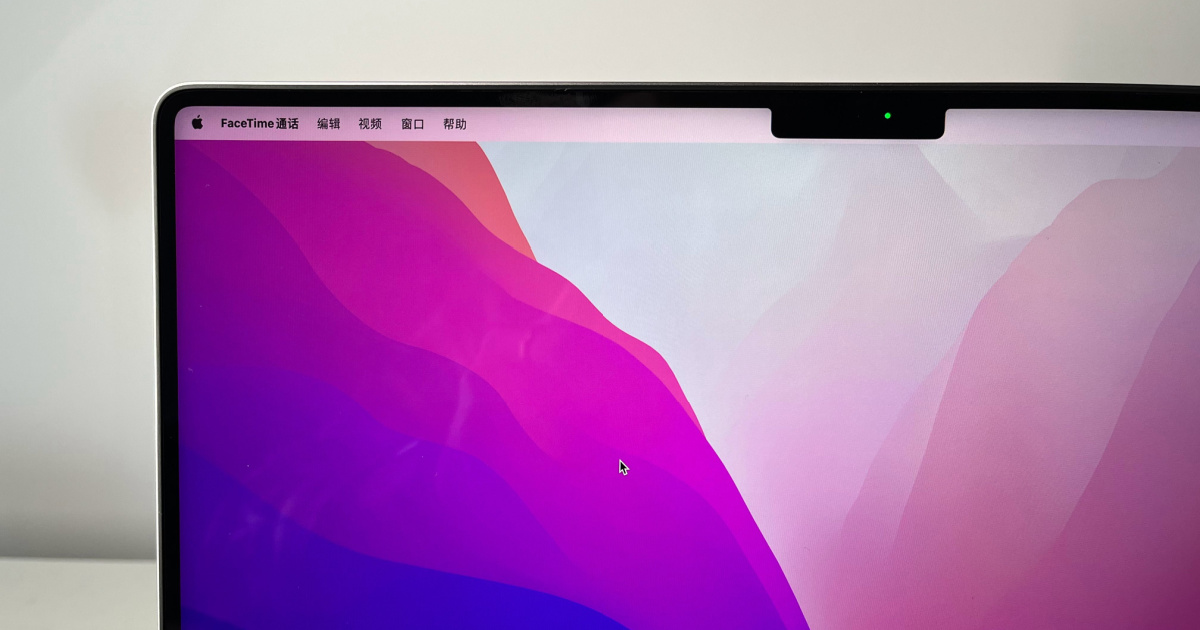
How to Activate Your MacBook Pro’s Camera
For those who are asking how to activate the MacBook Pro Camera, well here’s your answer. As mentioned, the built-in camera on MacBook Pro, or any other MacBook model, for that matter, doesn’t need to be activated. It should activate automatically as soon as you open the FaceTime camera.
Right now, you may be asking, how about other apps for video calls? Well, before you can use your MacBook Pro’s camera with these apps, you have to grant them access to the camera first. The app will ask for permission to access your MacBook Pro’s camera the first time you used the app. However, you may have disabled this access unintentionally or intentionally but forgot about doing so.
Time needed: 1 minute.
Follow the steps to below to check if an app has access to your MacBook Pro’s camera.
- Click the Apple Menu > System Settings (or System Preferences).

- Click Privacy & Security > Camera.

- Toggle off the switch next to the app.

Troubleshooting When Your MacBook Pro Camera Isn’t Working
Below are some of the common troubleshooting tips that you can do to fix the MacBook Pro camera not working issue. Note that the tips don’t only apply to the MacBook Pro. You can also do them if you’re experiencing the same issue with your MacBook Air’s built-in camera.
1. Restart Your MacBook Pro
If your MacBook Pro’s camera suddenly stopped working, the first thing you can do is restart your machine. Yes, like what we always said in our tutorial guides here in TMO, restarting your device, whether Mac, iPhone, Apple Watch, or others, can often fix minor glitches and bugs. After rebooting, launch any app that uses the camera and see if it’s working properly.
2. Grant Apps Access to Your MacBook Pro’s Camera
As mentioned above, when you installed an app that uses the MacBook Pro camera, it will ask for permission to access it the first time you use the app. If you forgot if you have given an app permission, you can check it via System Settings > Privacy & Security > Camera.
3. Use Another App That Requires the Camera
It may happen that the MacBook Pro camera will stop working due to app-related issues. To verify if the problem is with the app you are using and not with the camera, try another app like Movavi for instance. You might as well just keep this app on your MacBook because it has nice editing features and beautiful effects for not only your photos but videos as well.
That said, if the camera works just fine, then the issue is with the previous app. You can delete the app and reinstall it. Then check if the MacBook Pro camera starts working again.
4. Disable Screen Time Camera Restrictions
For those who are not aware, you can restrict the app’s usage via Screen Time settings. You may have restricted usage of your Mac’s camera before and have forgotten all about it until now. To check if you have restricted camera usage, follow the steps below.
- Go to System Settings (or System Preferences).
- Click Screen Time > Content & Privacy.

- Click App Restrictions, then toggle on Allow Camera.


5. Check Mac’s System Report
In case you didn’t know, there is a feature on your MacBook Pro’s settings called System Report. Through the System Report, you can check if your MacBook Pro’s camera is detected or not. If it’s not detected, this could indicate a hardware issue.
Follow the steps below to check your Mac’s camera’s status.
- Click the Apple logo on the Menu Bar, then About this Mac.
- Click More Info, then scroll down and click System Report.

- Your Mac’s System Information will be displayed.
- Click on Camera to see details about it.

- If you don’t see Camera in the left sidebar, that means it’s broken or disabled.
From here, you can try doing the succeeding tips below or contact Apple Support.
Other Troubleshooting Tips to Fix the MacBook Pro Camera Not Working Issue
This rundown of possible ways of fixing your issues with MacBook Pro camera not working won’t be complete if I don’t recommend that you check whether there is an available macOS update for your Mac. Make sure to download and install the latest macOS updates if available.
As we always say, it’s very important to install the latest macOS version to avoid any inconveniences brought about by an outdated operating system. That may include the error with your MacBook Pro camera.
You can also try running Apple Diagnostics on your Mac. If you see an error code that starts with NDC that means there’s something wrong with your MacBook Pro camera. Apple recommends contacting Apple Support or taking your machine to an Authorized Apple Authorized Service Provider (AASP).
To run Apple Diagnostics in Apple Silicon Macs, simply press Command + D while in macOS Recovery mode when the options appear. For Intel-based Mac, simply restart your Mac and press and hold the D key.
Finally, if you have an Intel-based Mac, Apple recommends resetting the SMC if the built-in camera on your Mac stops working. Likewise, if you see the camera indicator next to the camera flashing green, you need to contact Apple Support as well.
Final Words
Thankfully, in my many years of owning several MacBooks, I’ve never experienced a malfunctioning camera yet. But if you experience the MacBook Pro camera not working issue, then make sure to follow the tips we’ve outlined above. We’re pretty sure that you’ll be able to fix the issue by doing one of those troubleshooting methods.